Skylights do a lot for a home. They pull daylight into rooms that would otherwise feel cave-like, they reduce the need for electric lighting during the day, and they can elevate a design from ordinary to memorable. They also poke a hole through the roof. Anytime we penetrate a shingle roof, we invite the possibility of leaks, and skylights sit near the top of the list for callbacks. The good news is that most skylight leaks aren’t catastrophic failures of the window itself. They start as small details that were missed during roof shingle installation or show up years later when sealants or shingles age out. If you know where to look and how to fix what you find, you can stop the drip without replacing the entire unit.
I have repaired dozens of skylight leaks on shingle roofing in different climates and at every stage of roof life. Patterns emerge. A drip line on drywall rarely aligns with the true entry point, and roofing cement alone seldom solves more than a month. The lasting fix is a methodical one: diagnose, uncover the real path, and correct the water management details around the unit. The following is a field-tested approach that balances practicality with long-term durability.
Where the water really enters
When a homeowner shows me a damp patch under a skylight, the first instinct is to blame the glass or the skylight frame. Sometimes that’s right, especially if the insulated glass seal has failed and condensation is trapped between panes. More often, the culprit is the shingle system and its flashing. A skylight is designed to shed water using a series of overlapping metal pieces and underlayment that move water around the opening. If any layer is interrupted, water gets a chance to travel sideways along the deck, sneak behind step flashing, or wick into the framing.
Here are common entry points I see in the field and how they present:
- The uphill saddle or cricket missing or undersized. On roofs with a pitch below about 6/12 or in areas with heavy rain or snow, water piles up on the high side of the skylight. Without a properly formed cricket that diverts that water, it wells up and finds the first gap. Look for wet decking directly above the skylight and water stains in the upper corners of the shaft. Step flashing pieces short or misaligned. Each shingle course up the sides should interleave with an individual step flashing piece. If a piece is missing, too short, or not tucked correctly, you get a pinhole leak that only appears during wind-driven rain. Expect elusive drips that seem to come and go with storm direction. Underlayment laps running downhill. Underlayment below and around a skylight should lap shingle-style so water always runs over the lap, not into it. I sometimes find building paper or synthetic underlayment reversed at the top edge, which channels water straight under shingles. Sealant-only “repairs.” A dab of mastic on a flashing corner will buy a season, maybe two. After UV exposure and thermal cycling, the patch cracks. If you see gobs of asphalt cement or silicone smeared along flashing edges, assume there’s a hidden detail failure underneath. Ice dam backflow. In cold climates, melted snow refreezes at the eave and snowfield edge above a skylight. Water backs up under shingles, then down into the skylight opening. You’ll find staining that worsens after thaw-freeze cycles, not necessarily during rain.
Understanding where the water truly enters saves time. If you simply coat the perimeter with goo, you might stop the symptom for a while. If you reconstruct the correct water path using properly layered flashing and shingles, you can stop the leak for the life of the roof.
Safety first on skylight work
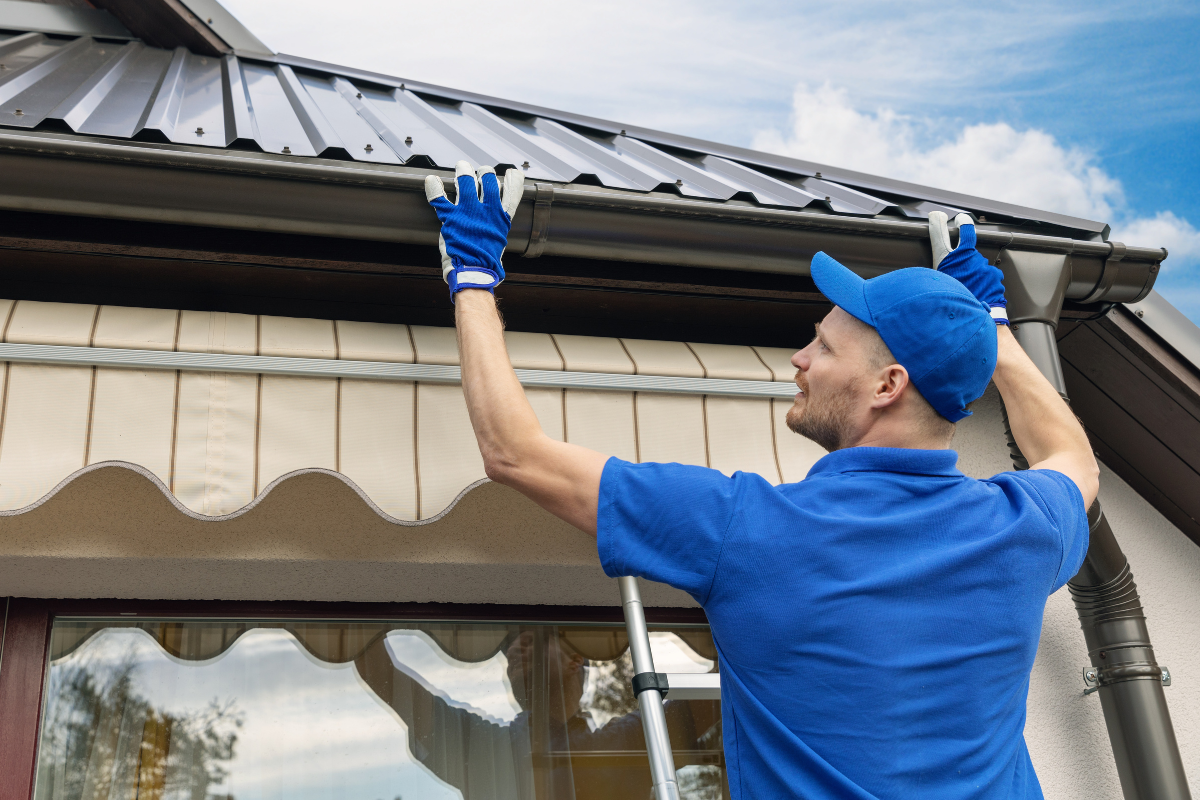
Roof shingle repair around a skylight requires working on slopes and sometimes leaning over an opening. I treat it like any elevated task with fall risk. That means stable footing, aggressive caution around brittle, aged shingles, and a plan for moving materials in small, manageable loads.
If I’m on anything steeper than a 6/12 or the surface is slick with algae or frost, I anchor a rope and harness and use a roof hook ladder. I also avoid stepping on skylight glass or frames, even if the manufacturer says they can be walked. They can’t, not safely.
Diagnosing before you demo
I start indoors if possible. Remove the skylight trim or at least inspect the shaft with a flashlight. Stains at the corners usually suggest a side flashing or head flashing issue. Stains centered at the top may point to an uphill underlayment or cricket problem. Condensation patterns look different: uniform fogging between glass panes, dripping on cold mornings, and no specific directional staining.
Outside, I look for:
- The skylight manufacturer and model if visible. Some units come with integral flashing kits, and knowing the brand helps. The shingle age and brittleness. If shingles are curling or crack when lifted, you might be forced into partial roof shingle replacement around the skylight. The step flashing rhythm up the sides. Each shingle course should align with an individual step piece that laps the piece below by at least 2 inches. Head flashing at the top. There should be a continuous metal head flashing that runs under the shingles above and over the skylight frame or counterflashing. Sidewall conditions. Debris build-up along the sides traps water and accelerates leaks.
If wind-driven rain is suspected, I may run a controlled hose test. Start low, soaking one area at a time for several minutes, then move up. Never flood the top immediately or you’ll force water where it doesn’t normally go and confuse your results.
When to repair and when to replace
A repair makes sense if the skylight is structurally sound, the glass seal is intact, and the leak clearly traces to shingle or flashing details. If the framed skylight is more than 20 years old, the lens is crazed, or the insulated glass has failed, it can be false economy to rebuild flashing around a unit that will be replaced in a few years. In that case, coordinate roof shingle replacement around the new unit so the flashing kit integrates properly.
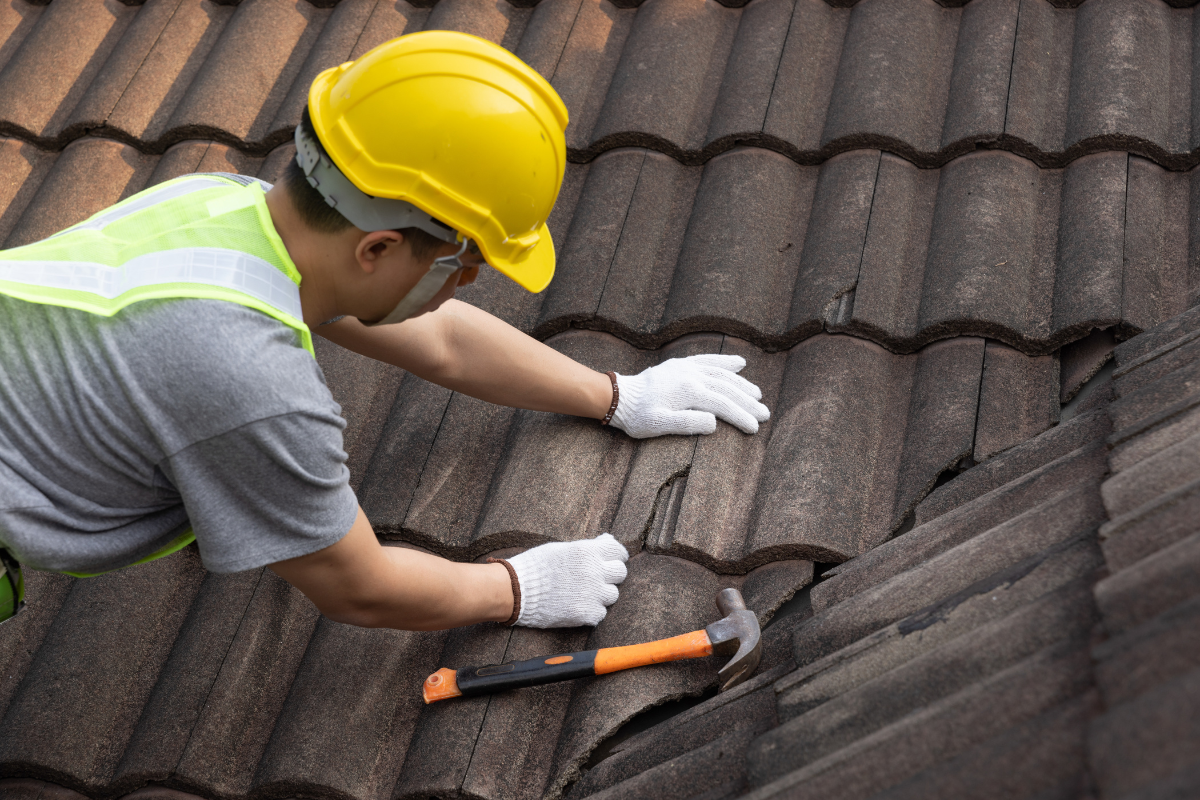
I have also had situations where shingles were so brittle I could not lift tabs without breaking them. In those cases, the least risky path was to cut out a rectangular area of shingles around the skylight and install new shingles with new step and head flashing. Yes, you’ll have a color mismatch unless you have attic stock from the original roof shingle installation, but it beats a patchwork of cracked tabs.
The anatomy of a sound skylight flashing
Think of flashing as choreography. Each piece tells water where to go, always down and out. Around a skylight on shingle roofing, the classic sequence looks like this:
https://www.expressroofsupply.com/- Self-adhered membrane as a secondary seal, wrapping the curb or skylight frame perimeter onto the deck. I like 9-inch strips on the sides and bottom, with a wider piece up top. Sill or apron flashing at the bottom, usually a pre-bent metal piece that laps over the shingles below and up the skylight curb. Step flashing up both sides, one piece per shingle course, each overlapping the one below. Head flashing at the top, extended under two to three courses of shingles above. Optional cricket at the top for wider skylights or low slopes, integrated with the head flashing to split water left and right.
Every layer should be free to move slightly with thermal changes. Relying on sealant to glue things down robs the system of that movement and creates cracks later.
Step-by-step repair for a typical leak
Here is a clean, durable sequence that I follow when a leak traces to the shingle and flashing system, and the skylight itself is sound. This is not the only way to do it, but it has held up in wet coastal climates and snowy mountain valleys alike.
- Strip carefully. Starting at the sides, lift the shingle tabs with a flat bar and break the adhesive bond. Remove nails holding the step flashing pieces and the shingles that must come out. Work two courses higher than you think you need. On the uphill side, remove at least two full courses above the head flashing. On the downhill side, remove enough shingles to expose the apron flashing. Inspect the deck and curb. Replace any soft or delaminated sheathing. Look for black tracks where water has run and follow them to the origin. If the curb sheathing is swollen or the fasteners are rusted, resecure the curb and plane or shim for flatness so the flashing sits flush. Install membrane. I run a strip of self-adhered underlayment along the bottom edge, up the sides over the curb, and then a wide piece along the top that tucks under the field underlayment. Slit the top corners so the side pieces lap over the top piece in true shingle fashion. Rebuild flashing. Set a new apron flashing at the bottom, then re-shingle and interleave step flashing up the sides, nailing only on the shingle side of each step piece. Finish with a head flashing that extends past both sides by at least 4 inches. If conditions warrant, build a small saddle or cricket with tapered blocking and sheathing, then wrap it with membrane and the head flashing. Re-shingle and seal selectively. Install new shingles to weave with the flashing. Seal lift tabs with a small dab of roofing cement where the adhesive strip no longer bonds, but do not smear cement along flashing edges. Aim to restore the factory shingle bond pattern, not to glue the roof together.
That sequence addresses 80 percent of skylight leaks on a shingle roof. It avoids the temptation to rely on caulk and, instead, rebuilds the water path.
Crickets and when they matter
On wider skylights, anything 30 inches or more, and on roofs with pitches from 3/12 up to 6/12, water can stall at the head. Snow also compresses against the upslope side. Adding a small, centered cricket does two things: it splits the flow away from the dead zone at the center, and it stiffens the area so foot traffic or snow load doesn’t flex the head flashing.
I build crickets with tapered 2x stock, sheathe with plywood, and wrap with self-adhered membrane. The cricket should be as high as practical without creating a trip hazard during future work, often a 1:12 to 2:12 pitch is enough. The head flashing then spans the cricket and laps under the shingles above. If you retrofit a cricket, plan to rework three or four courses of shingles above to bury it correctly.
Ice dams and cold-climate detailing
In cold regions, the best repair adds redundancy. I run ice and water shield membrane 18 to 24 inches up the sides and at least 12 inches above the head of the skylight, tucked beneath the field underlayment. This creates a secondary watertight basin if meltwater backs up under shingles. Pair that with better attic insulation and ventilation to reduce melting from below. I have seen skylight leaks vanish with nothing more than air sealing and insulation improvements, because the ice dams disappeared.
Downside: heavier membranes can telegraph bumps under shingles if the surface isn’t flat. Take the time to feather edges with roof cement or a thin underlayment strip to avoid creating a ridge that could catch ice or debris.
Wind-driven rain and low-slope pragmatism
Wind pushes water uphill and sideways. On coastal homes or exposed hills, I tighten laps and prefer longer head flashings and slightly larger step pieces. I also pay attention to shingle exposure. On a 4/12 pitch, most shingle manufacturers reduce the exposure by about half an inch to improve water shedding. If the original roof shingle installation ignored that, leaks tend to appear first at penetrations like skylights. Correcting the exposure in the repair area can help, but it may also highlight a systemic issue across the field of the roof.
If the roof slope is marginal for shingles, say 2/12 to 3/12, shingles are technically allowed only with full-coverage self-adhered membrane beneath. At those pitches, I recommend reconsidering the roofing type around the skylight. Some owners choose to convert a small area to a low-slope membrane saddle integrated with the skylight, then transition to shingles. It’s fussy, but it gives the skylight a better chance during sideways rain.
Flashing kits versus custom metal
Most modern skylights ship with tailored flashing kits for common roofing materials. On clean, new installs, I like these kits. They are engineered to stack correctly and often include foam or baffle pieces that block wind-blown rain. On older roofs or repairs where the shingle courses no longer align perfectly with kit components, I may opt for custom-bent step flashing and a site-fabricated head flashing. The decision turns on fit and control. If the kit leaves odd gaps because the shingle exposure is irregular, custom pieces win.
Anecdote: I once arrived at a ranch home where two previous attempts had layered three different kit aprons at the bottom edge, none seated right due to a slight curb skew. We stripped it back, squared the curb, and installed a single custom apron that sat flush. The leak stopped immediately. Metal that fits beats branded parts that almost fit.
Integrating repairs into the existing roof
A well-blended repair avoids setting up the next failure. When working on shingle roof repair around a skylight, I match the shingle exposure and pattern, and I avoid over-nailing. Nails should sit above the sealant strip but far enough from flashing edges that thermal movement doesn’t stress them. If the roof is older, expect a color mismatch. You can minimize that by stealing shingles from a less-visible area to use around the skylight and placing new shingles where they are less conspicuous. Some shingle roofing contractors will do this kind of “shingle swap” as part of a repair to keep the visible area uniform.
If you find wide cracking and granule loss on surrounding shingles, step back and evaluate whether a localized repair will simply move the leak six months down the slope. Sometimes the honest advice is to plan a roof shingle replacement in the near term and patch only as a stopgap.
The role of sealants, carefully used
Sealants have their place, but they are not a water management system. I use sealant in three ways around skylights:
- To bed the apron flashing at the bottom where it meets the shingles below, a thin bead to keep wind-driven rain from pushing up. To seal nail heads that are necessarily exposed, though I try to conceal all fasteners under shingle courses. To improve adhesion of shingle tabs on cold or dusty surfaces, using small dabs under tabs to replicate the factory sealant bond.
Avoid sealing the top edge of head flashing or the vertical edges of step flashing. Those joints should remain open for drainage and ventilation. Trapping water with a sealant dam is a short route to hidden rot.
Common pitfalls I still see on service calls
The most stubborn leaks often trace back to understandable but costly shortcuts. I see step flashing pieces reused after bending them out of the way. Metal fatigues, and tiny cracks appear at the bend. New step flashing is cheap insurance. I see nails driven through the vertical leg of step flashing into the skylight curb or wall, which instantly creates a leak path. All fastening should be on the shingle side of the step piece. I also see shingles jammed tight against the skylight curb, leaving no relief for debris. Always leave a small gap, typically a quarter to half an inch, so water and grit can wash out.
Another pitfall is ignoring attic moisture that masquerades as a roof leak. Bathrooms venting into skylight shafts can load that cavity with steam. In cold weather, condensation collects and drips. If your leak appears only after showers or only on freezing mornings with blue skies, pull back and assess interior moisture and ventilation before tearing into the roof.
Costs, time, and what a homeowner should expect
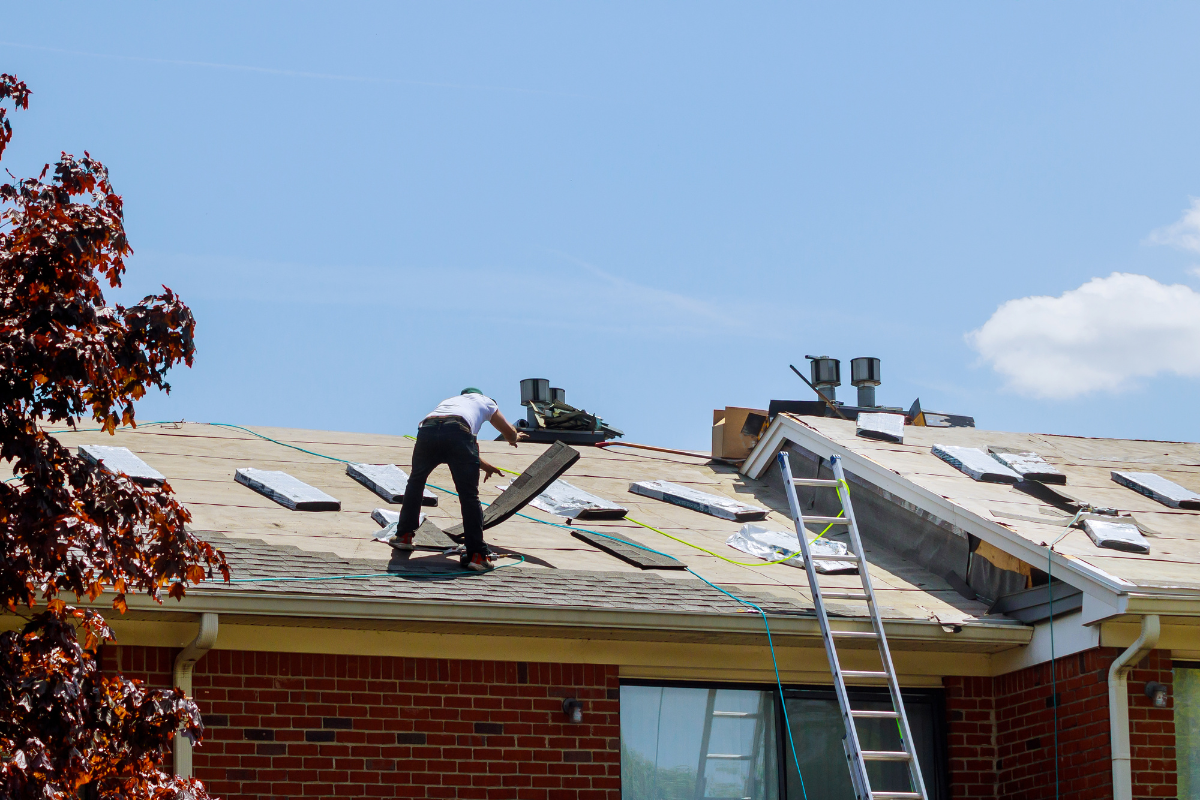
A straightforward skylight flashing rebuild on a single-story home with walkable slope takes a skilled tech half a day to a day, assuming no sheathing rot. Material costs are modest: a roll of self-adhered membrane, a bundle or two of shingles, a set of step flashing, and a length of head flashing. On a two-story home with laddering and safety rigging, or if a cricket is added, the job can stretch to a full day or more. If the skylight itself is aging out, adding a new unit and integrated flashing kit will raise material costs significantly, but often pays back in reduced labor and a cleaner result.
If you hire a shingle roofing contractor, ask how they plan to diagnose, whether they intend to rebuild step and head flashing, and what underlayment they will use. A contractor who suggests smearing mastic around the perimeter as the primary fix is selling a delay, not a solution.
Special cases: curb-mounted versus deck-mounted skylights
Curb-mounted skylights sit on site-built curbs, typically 2x lumber that raises the unit 4 to 6 inches above the deck. They are easier to reflash because the metal can wrap the curb and the shingle interface is clearer. Deck-mounted skylights sit closer to the roof plane. Their flashing relies more on engineered kits and precise shingle integration. With deck-mounted units, make sure the head flashing and membrane extend far enough upslope and that the side pieces interlock the way the manufacturer intended. Any deviation can break the internal weep paths that some brands use to manage incidental water.
With curb-mounted units, inspect the curb itself. A low curb height, anything under 4 inches on a snow-prone roof, puts the unit at risk during drifting. Raising the curb during repair can dramatically reduce future leaks, though it requires interior trim adjustments.
Planning future-proof details
Good repairs look beyond the single problem. If the roof is due for replacement within five years, consider the repair an opportunity to test the best detail approach for your roof. For example, if you add a cricket and find that snow no longer packs against the skylight, note that for the eventual roof shingle replacement and replicate it for any other skylights. If wind-driven rain was the trigger, step up to wider step flashing and slightly reduced shingle exposure during the next roof shingle installation. I keep notes and photos for each job so the next crew, or future me, knows what worked.
For homeowners, a simple maintenance rhythm helps. Keep leaves and needles cleared from the uphill side of skylights. Inspect the interior shaft once a season. If your climate sees freeze-thaw cycling, watch for signs of ice damming at the eaves and address insulation and ventilation. Small habits delay big repairs.
A brief field story to tie it together
A two-story colonial with a 5/12 roof and a pair of deck-mounted skylights started leaking during hard nor’easters. The builder had installed the skylights with kit flashing, but the shingle exposure was full even at 5/12, and no membrane was installed above the heads. The leak only showed during sideways rain. We removed two courses above the head, found reversed underlayment laps, and discovered that the head flashing stopped flush with the skylight width, offering no side extension. We rebuilt the top with a 12-inch-wide membrane, added a custom head flashing that extended 6 inches past each side, corrected the shingle exposure for three courses, and replaced several short step flashing pieces. The homeowner rode out two tropical storms afterward with dry ceilings. The difference was not exotic products, just disciplined layering.
How to choose the right help
If you decide not to DIY, look for a shingle roofing contractor who talks about water paths, not caulk. Ask to see photos from past repairs. A pro should be able to explain how they integrate step flashing, where they place nails, and how they handle low slopes or snow loads. If a contractor proposes roof shingle repair without lifting shingles, or promises a fix “from the tube,” keep looking. Repairs that last treat the roof as a system.
For a new skylight, make sure the crew reads the flashing kit instructions and that the roof shingle installation around the unit follows both the shingle manufacturer’s exposure and fastener guidelines and the skylight maker’s lap sequence. When the time comes for full roof shingle replacement, insist the flashing be rebuilt, not simply left in place. Shingles and flashing age together. Resetting both returns the system to zero.
Final thoughts from the roof
Skylight leaks on shingles rarely demand drama. They demand patience, a putty knife to lift tabs without tearing, and a respect for gravity. If you rebuild the layers so water has an easy way out, the roof will take care of you. Ignore the sequence, and you’ll be back on the ladder in the rain. Whether you tackle the work yourself or hire it out, aim for a repair that mirrors a clean new installation, with smart additions like membrane, crickets where needed, and careful shingle weaving. That approach has kept many ceilings dry, and it will keep yours dry too.
Express Roofing Supply
Address: 1790 SW 30th Ave, Hallandale Beach, FL 33009
Phone: (954) 477-7703
Website: https://www.expressroofsupply.com/
FAQ About Roof Repair
How much should it cost to repair a roof? Minor repairs (sealant, a few shingles, small flashing fixes) typically run $150–$600, moderate repairs (leaks, larger flashing/vent issues) are often $400–$1,500, and extensive repairs (structural or widespread damage) can be $1,500–$5,000+; actual pricing varies by material, roof pitch, access, and local labor rates.
How much does it roughly cost to fix a roof? As a rough rule of thumb, plan around $3–$12 per square foot for common repairs, with asphalt generally at the lower end and tile/metal at the higher end; expect trip minimums and emergency fees to increase the total.
What is the most common roof repair? Replacing damaged or missing shingles/tiles and fixing flashing around chimneys, skylights, and vents are the most common repairs, since these areas are frequent sources of leaks.
Can you repair a roof without replacing it? Yes—if the damage is localized and the underlying decking and structure are sound, targeted repairs (patching, flashing replacement, shingle swaps) can restore performance without a full replacement.
Can you repair just a section of a roof? Yes—partial repairs or “sectional” reroofs are common for isolated damage; ensure materials match (age, color, profile) and that transitions are properly flashed to avoid future leaks.
Can a handyman do roof repairs? A handyman can handle small, simple fixes, but for leak diagnosis, flashing work, structural issues, or warranty-covered roofs, it’s safer to hire a licensed roofing contractor for proper materials, safety, and documentation.
Does homeowners insurance cover roof repair? Usually only for sudden, accidental damage (e.g., wind, hail, falling tree limbs) and not for wear-and-tear or neglect; coverage specifics, deductibles, and documentation requirements vary by policy—check your insurer before starting work.
What is the best time of year for roof repair? Dry, mild weather is ideal—often late spring through early fall; in warmer climates, schedule repairs for the dry season and avoid periods with heavy rain, high winds, or freezing temperatures for best adhesion and safety.